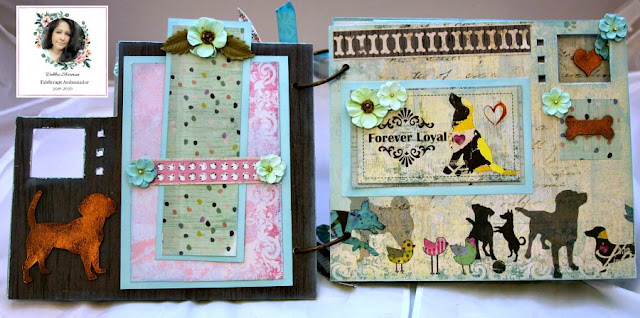
Hello friends! today I'm sharing the newest release for the Fabscraps! This collection spoke to me because as most of you know I have 2 Fabulous chocolate Labs and I'm a huge animal lover! and secondly....Aquas and turquoise are mu favorite colors! The Spilt Milk Collection C119. features Cats and Dogs so it can be used for either or both.
I will start of by sharing this cute little Beer Board Film Strip Album which is part of the Spilt Milk Collection C119.


Back cover.
For This Project You Will Need:
FabScraps Spilt Milk Collection paper range : C119-001, 002, 003, 004, 005, 006, 007, 008
FabScraps Chipboard Pieces : DC 119 002, 003
FabScraps Film Strip Album : DC 119-001
Turquoise Cardstock
Brown Acrylic Paint
Copper Rub wax
Chalk Ink in coordinating color (any brand)- Aqua
Flowers
Coordinating ribbon
1/4" Score Tape
Score Board
Exacto knife
Small file
Sequins
Instructions:
1. Adhere patterned papers your album pages. Cover one side and flip over and cut away your openings using a craft knife and punch your holes for the metal rings. You will need to do this for pages 1, 2 and 3, 4, 5 and 6.
File all the openings with a small file and ink all your edges.
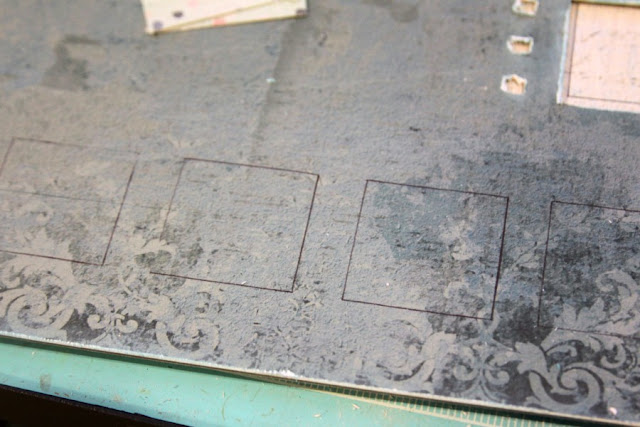
Page 3 and 5 trace the openings on the following pages. You will trace the cover page to page 3.
Building a shaker box for your front cover. Paint Beer Board piece with Brown acrylic paint and rub with copper wax. You will do this for all your beer board pieces.
Turn piece over and adhere acetate to back of frame and then add foam tape to the back around the frame.
Choose a piece of Patterned paper and add sequins to the center of where you want your Beer board frame to go.
Remove backing off of foam tape and adhere to patterned paper. Adhere your shaker box to the front of your album.
Flip pages for pages 7 & 8
Cut 6 pieces of card stock 5-12" x 6-1/2"
Score 4 pieces on the 5-1/2" side at 1/2" mark
Score 2 pieces on the 6-1/2" side at 1/2"
Add score tape to the 1/2" score as shown
Remove backing from score tape and beginning with the side flip page that is score on the 6-1/2' side, adhere this to your album on page 8.
Adhere remaining 2 pages to the top and bottom of the page. Cover your mats with Patterned paper Repeat this for page 7.
Add a mat to main page of the album. These 2 pages will hold 8 photos each.
I used ribbon to tie my pages closed...this is optional.
Pages 3 and 5 I made belly bands and inserted tags and photo mats into them.
Add your embellishments as you choose or you can simply follow my photos. for most of the pages I fuzzy cut some of the images from the patterned paper or added flowers.
I hope you enjoyed this album and tutorial!


No comments:
Post a Comment